Writing Mutex Logic for Concurrency Control
Coordinating resources for enhanced performance, data integrity and application reliability.
Introduction
Concurrency is a fundamental aspect of modern software systems. As applications grow in complexity, ensuring that multiple operations occur seamlessly and without conflicts becomes increasingly challenging. Mutex (short for "mutual exclusion") is a powerful tool that provides a mechanism to control access to shared resources and coordinate concurrent processes.
In this article, we will delve into Mutex logic and its vital role in maintaining order, data integrity, and application reliability in the face of simultaneous operations. We'll explore Mutex through a practical lens, examining a scenario where it's crucial: "Coordinating a Distributed File Upload System."
Why Mutex Matters
Mutex serves as a gatekeeper, ensuring that only one thread or process can access a shared resource at a time. This synchronization mechanism is particularly invaluable in situations where multiple users or processes interact with a central resource concurrently. In our scenario, we'll tackle the challenge of coordinating the simultaneous uploading of files from different users. Here, Mutex becomes the linchpin that enables smooth and error-free operations.
Coordinating a Distributed File Upload System
Imagine a cloud-based file storage system, where users from around the world are uploading files simultaneously. Without Mutex, chaos could ensue: files might overwrite each other, metadata could become inconsistent, and the reliability of the system could be compromised. However, with Mutex logic in place, we can ensure that files are uploaded in an orderly fashion, that metadata remains consistent, and that the system performs reliably even under heavy user load.
Throughout this article, we'll dissect Mutex logic, explore the implementation, and discuss best practices for writing Mutex code.
So, let's dive in and unravel the secrets of Mutex.
Understanding Mutex Logic
Understanding the fundamentals of Mutex is pivotal in grasping its role in concurrency control. Below are the three fundamentals of Mutex logic.
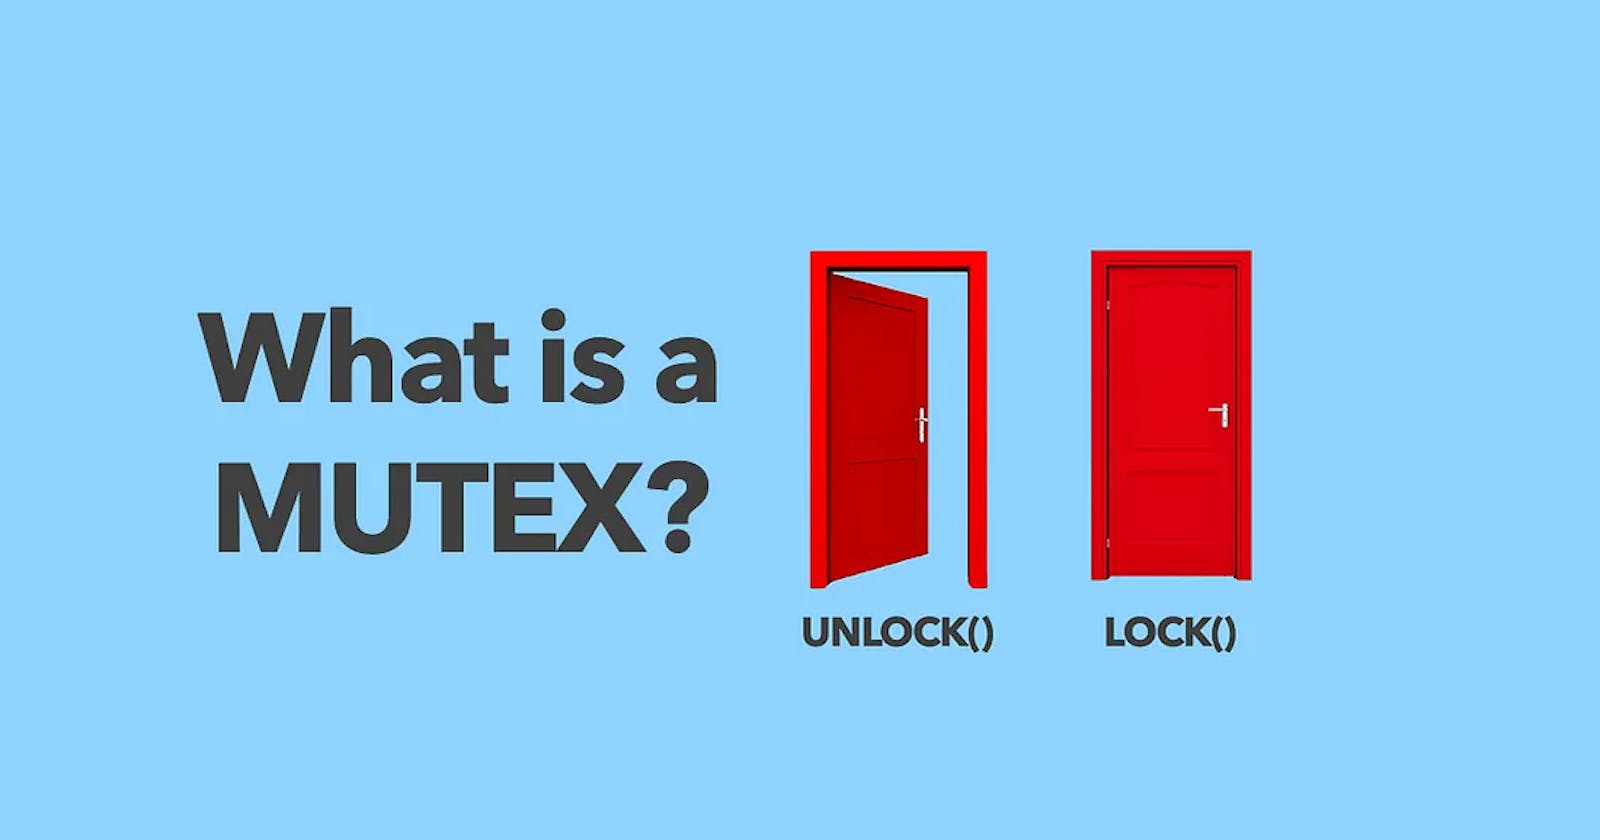
Mutex States: A Mutex has two states: locked and unlocked. When a process acquires a Mutex lock, it transitions the Mutex to the locked state, preventing other processes from entering the critical section. When the lock is released, the Mutex returns to the unlocked state, allowing other threads to acquire it.
Critical Sections: A critical section is a segment of code where shared resources are accessed and modified. It's critical because it must be executed atomically and without interference from other threads or processes.
Exclusive Access: When a thread or process acquires a Mutex lock, it gains exclusive access to the protected resource. Any other threads or processes attempting to access that resource will be blocked until the lock is released.
Mutex Implementation
In this guide, we are going to be writing our Mutex logic using Redis: its atomic operations and the concept of distributed locks.
Here is a basic outline of the implementation:
Choose a Unique key: Decide on a unique key that represents your mutex in Redis. This key should be specific to the section of code you want to protect.
Acquiring a Mutex(Lock):
Use Redis SETNX (Set if Not Exists) command to attempt to create a key with a specific name.
If the SETNX operation succeeds (returns 1), it means the mutex is acquired. The critical section is then executed.
If the SETNX operation fails (returns 0), a process already holds the mutex. A retry mechanism is implemented to try to acquire the mutex at some intervals.
- Releasing a Mutex (Unlock):
When the critical section is done executing, use the Redis DEL (Delete) command to release the mutex by deleting the key.
Deleting the key signals that the critical section is no longer protected.
Below is a Node.js implementation of Mutex logic using Redis:
const Redis = require("ioredis");

const REDIS_URL = "redis://127.0.0.1:6379";
const redis = new Redis(REDIS_URL);

async function acquireMutex(key) {
  const acquired = await redis.set(key, "1", "NX", "EX", 10);
  return acquired ? true : false;
}

async function releaseMutex(key) {
  await redis.del(key);
}
async function main() {
  const mutexKey = "FILE.UPLOAD";

  // acquire the mutex
  const isAcquired = await acquireMutex(mutexKey);

  if (isAcquired) {
    try {
      // perform the critical section of the code
      console.log("Mutex acquired. Uploading file...");
      // ...
    } finally {
      // release the mutex when done
      await releaseMutex(mutexKey);
      console.log("Mutex released");
    }
  } else {
    console.log("Mutex is already held by another process/thread");
    // retry mechanism
  }
}

main();
Best Practices and Considerations
It is essential to adhere to best practices and consider various factors to strike a balance between synchronization and performance. Below are some key considerations and best practices for writing Mutex logic in your applications:
Identify Critical Sections Precisely: Accurately define the critical sections of your code. Overly broad or unnecessary locking can lead to contention, reducing performance.
Minimize Lock Duration: The duration for which a Mutex is held should be as short as possible. Lengthy locks can introduce bottlenecks and reduce the system's responsiveness.
Avoid Nested Locks: Avoid acquiring multiple Mutexes within the same thread, as it can lead to deadlock situations.
Implement Retry Mechanisms: To address scenarios where a Mutex is unavailable, implement retry mechanisms with backoff strategies. This approach prevents excessive resource contention.
Exception Handling: Develop robust exception handling to address potential issues with Mutex acquisition and release. Gracefully handling exceptions ensures that your application remains reliable.
Conclusion
Armed with the knowledge gained from this exploration, apply Mutex logic judiciously in your projects, monitor its impact, gather feedback, and iterate on your synchronization strategies to align with the evolving demands of your applications.
Thank you for embarking on this journey with me, and may your code always compile successfully on the first run. 👨💻😊
